Local Angle: Photographing Your Work for a Portfolio in Natural Light
Every portfolio has a weak spot, and it is usually the photographs of the work itself. The drawing, the ceramic bowl, the book you spent three months binding — all of it reduced to a slightly grey rectangle, shot at night under a ceiling bulb, with a shadow across the corner. You do not need a studio to fix this. You need a window, a table, and about an hour of patience. What follows is a setup you can build in a small flat or a spare room: one decent window, a roll of paper, a sheet of white board, and whatever surface happens to be underfoot.
Light quality matters more than the camera. A north-facing window is the safest choice: it delivers even, cool, indirect light through most of the day, and the exposure barely changes between morning and afternoon. South-facing windows are brighter but far less forgiving — direct sun creates hard shadows and blown-out highlights. Use them early or late, or on an overcast day, and you get much of the same softness.
East and west windows are workable if you plan around them. East light is crisp and cool in the morning and gone by mid-afternoon. West light arrives late, warm and strong, which can be lovely for texture but brutal for anything white or reflective.
Hold your hand about thirty centimetres above the surface where the work will sit. If the shadow has a soft, blurred edge, the light is diffuse enough to shoot. If the edge is sharp and dark, you have direct sun — move the table, wait, or diffuse the window.
A portfolio is judged as a group, so consistency matters as much as any single image. Photograph the entire series in one session, or return at the same hour on days with similar weather. Keep a note of the time. In winter the light comes in low and reaches deep into the room; in summer it sits higher and harder. That difference alone can make two pieces look like they came from different portfolios.
While you are at it, turn off the ceiling light and the desk lamp. Mixed light is the most common colour problem in home photography: window light runs cool, bulbs run warm, and no single white balance setting fixes both in one frame.
Grain, scratches and glare are the three things a tabletop adds to your photographs. Bare wood shows every mark under raking light, polished stone behaves like a mirror, and a glass-topped desk will reflect the window as a bright rectangle right across your work.
The simplest fix is a paper sweep. Tape a large sheet to the wall behind the table, let it curve gently down onto the surface, and tape the far edge. No crease, no visible seam, no horizon line behind the object. A roll of seamless paper is ideal, but a big sheet from an art shop or a well-ironed plain bedsheet will do.
Mid-grey flatters almost everything and never competes with the work. Pale work on a pale background disappears unless the light gives it a soft edge shadow to define its outline; dark work on a dark background does the same. If in doubt, place a lighter sheet behind dark objects and a darker one behind pale ones, then keep that choice consistent across the whole portfolio.
Dust is invisible to the eye and obvious on a dark surface at full resolution. Wipe the table, brush your objects with a soft brush, and run a lint roller over any fabric. Check ceramics and glass for fingerprints at an angle to the window before you press the shutter. It takes a minute and saves an hour of retouching.
Get the camera directly overhead. A stool, a stack of books or a tripod with an inverted column will do. The important part is that the lens is parallel to the sheet — not tilted down at an angle, which turns a rectangle into a trapezoid and forces you to correct it later at the cost of the edges.
Lean the piece against the wall on a small block so the base sits forward, and let it tilt back five or ten degrees. A tiny amount of putty or museum wax stops it sliding. A fabric-covered stack of books makes a clean riser for small objects, and the sweep hides the construction.
If you can photograph the piece out of its frame, do. If not, turn off every room light, stand slightly off-axis rather than straight on, and drape a dark cloth behind you so the camera is not reflected. A small angle that you correct when editing is usually cleaner than a full reflection across the middle of the work.
Shoot the same three views for every piece: a full frame hero image, one close detail, and a side or angled view for dimensional work. Repetition is what makes a portfolio feel considered.
A recent phone is entirely capable. Use the main lens rather than the ultra-wide, tap to focus, then lock exposure and drag it down slightly so pale highlights do not clip. Never use digital zoom — move the camera instead.
With a camera, set a low ISO, choose an aperture around f/5.6 to f/8 so flat work stays sharp corner to corner, and put the camera on a tripod or a stable stack of books. Use the two-second timer, shoot RAW if the camera allows it, and check focus at magnification rather than trusting the screen at a glance.
Whatever you shoot with, take one frame with a grey card or a plain white sheet in the same light. Use it as your white balance reference and the whole series will sit together. And watch your own shadow: it is easy to lean in, check the screen, and block half the window without noticing.
Keep the editing light. Crop, straighten, correct exposure and white balance, remove dust spots, and stop there. Heavy sharpening and pushed saturation are the fastest way to make good work look amateur. Judge brightness with your screen at around half power in a dim room; a display at full brightness hides the shadow detail and tempts you to underexpose everything.
Export in sRGB at a sensible size for the web, and keep the untouched originals in a separate folder. Name files with a simple pattern — number, title, medium, year — and keep captions factual: title, materials, dimensions, year. Visitors read those, and they quietly signal that you know what you are doing.
Work through the whole portfolio over two or three sittings rather than one exhausting afternoon, and keep the same window, the same sweep and the same three views throughout. The setup costs almost nothing. What it buys you is a set of images where the work — not the photography — is the thing people notice.
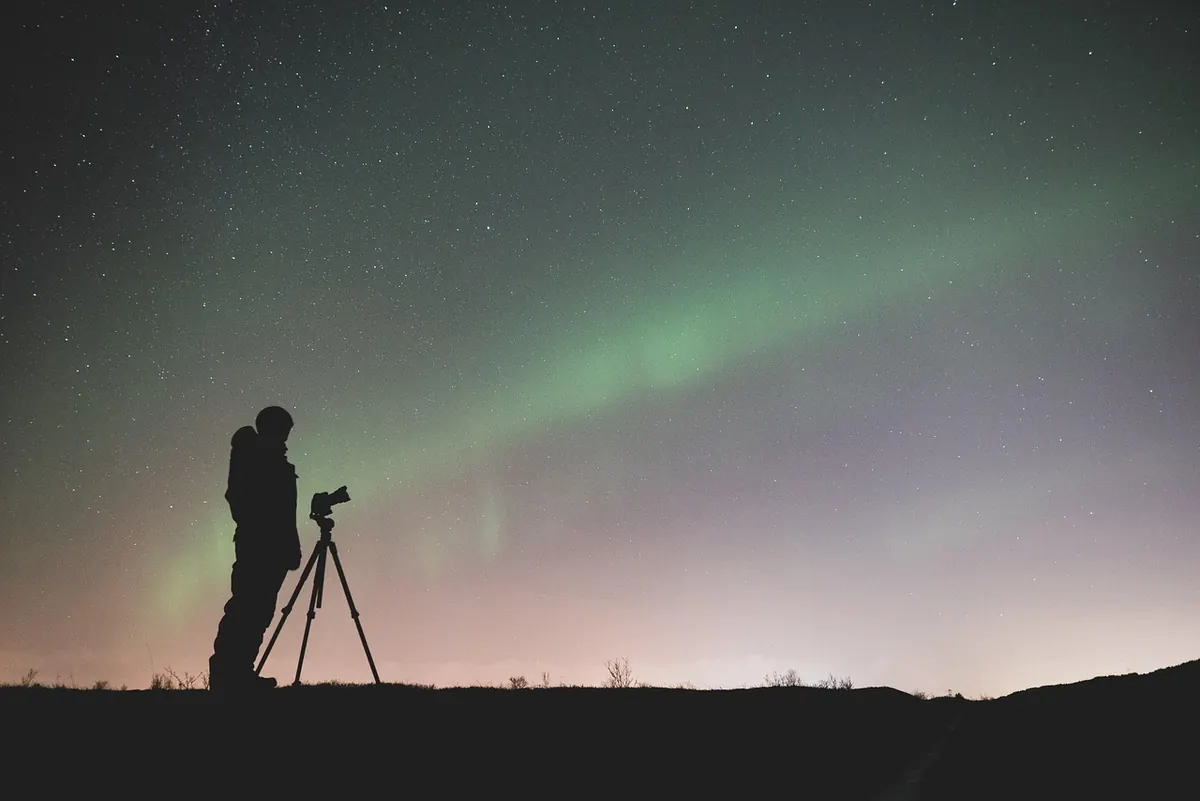
Photo: kamilgrygo / Pixabay
Previous Post
Contact Page Comparison: Contact Form vs Email Link vs Booking Calendar
Next Post
Project Retrospective: Rebuilding My Portfolio Navigation for Clarity